Vandit Kalia, 4 March 2025
On virtually every dive trip we do, I see divers coming up excitedly from a dive after having photographed an unusual fish or some interesting behavior – but when they look at the images in the camera, they are disappointed: the photos lack the same impact and immediacy that they remembered.
And often, the response is “this small camera simply cannot deliver the same results as that big rig of yours”. To a degree, that is true: compact cameras are indeed less versatile than more complex, multi-strobe setups with specialized lenses and ports. However, they are perfectly capable of providing excellent photos – you just have to know their limits and use them correctly.
So here are 10 tips, in no particular order, which should help you achieve a noticeable improvement in your images, regardless of what camera you use:
1. Get close: If anything, this has to be the rule #1 of underwater photography. Get close. How close? Within 1-2 feet for high-quality images, but at most no more than 3-4 feet. Any more than that, and don’t bother shooting unless your subject is very large. A good test is that the subject should occupy atleast 25-30% of your LCD screen. Why is that? Even the clearest of water has particles which will affect sharpnesss and contrast. Also, the more the distance between you and your subject, the longer the path travelled by the light from your camera’s flash, which means more loss of reds. Moral: minimze the water column.
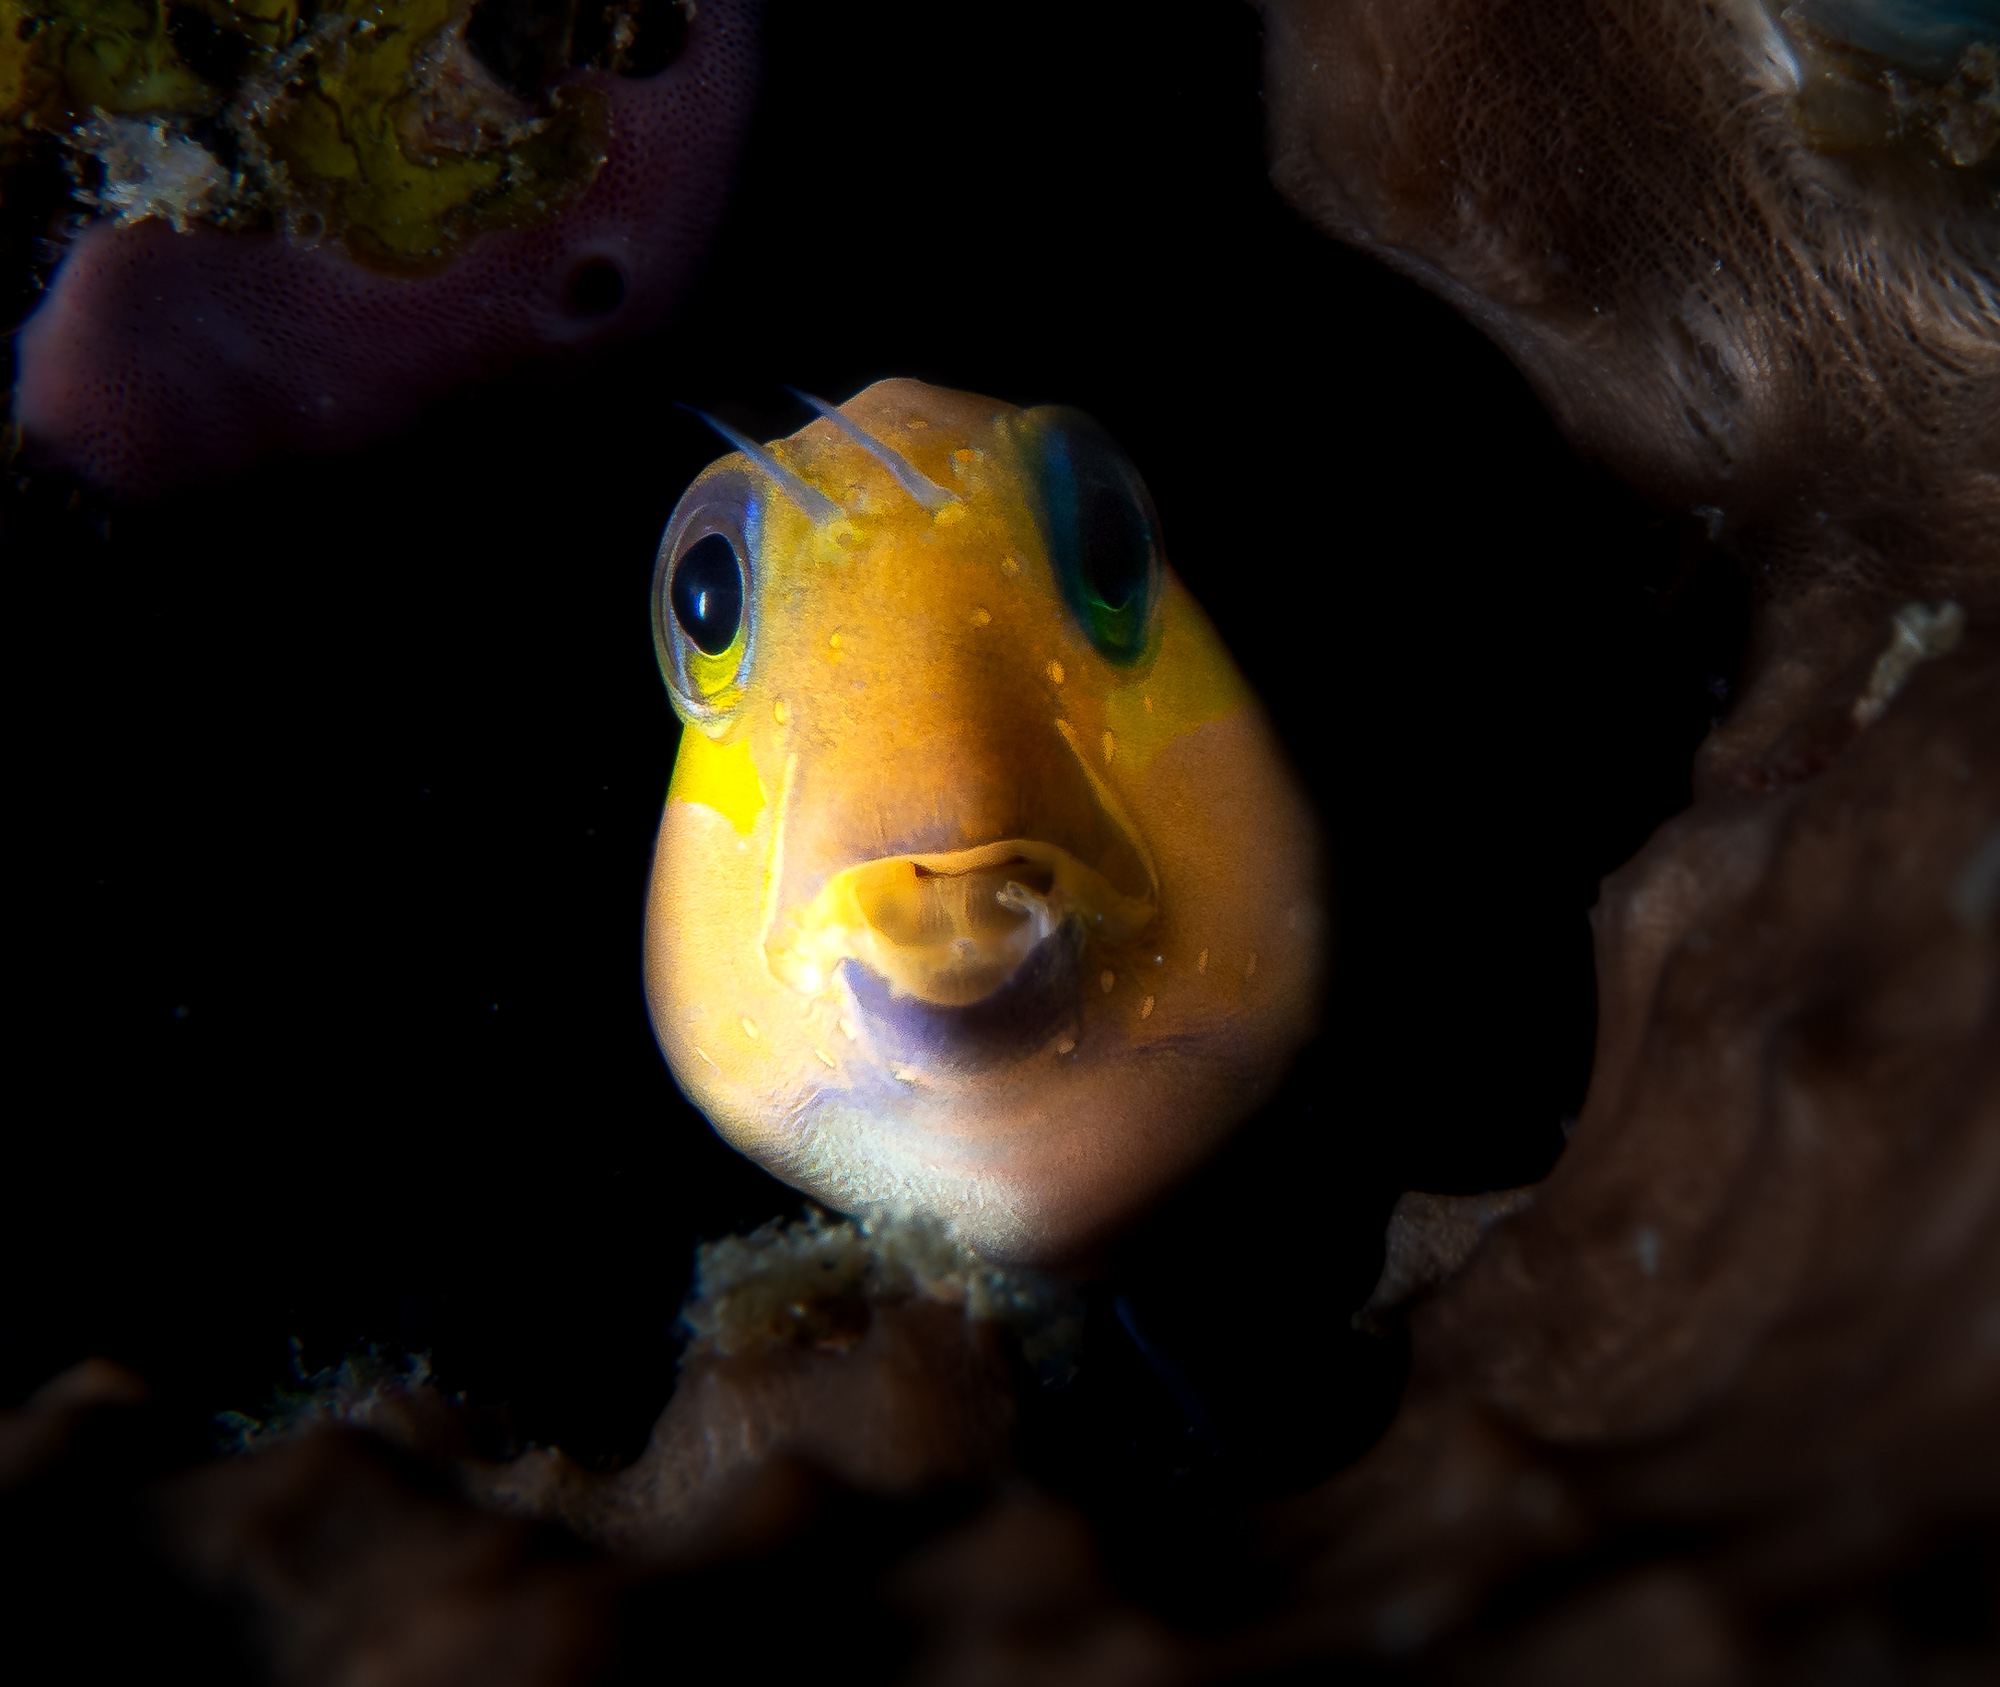 Getting close makes the subject stand out and increases the impact of the image
2. Avoid the zoom: Zooming is no substitute for getting close. Keep your camera at its widest setting, then get as close as possible, and then, if need be, zoom to adjust your composition (never as a substitute for physically getting closer).
3. Manual white balance: As you know, reds are lost very quickly underwater, which gives images a bluish cast. Setting the white balance tells the camera how to adjust for this, and offset this to some degree (this only goes so far – at greater depths, you lose other colours as well and there is only so much compensation the camera can do). The traditional way to do this is to carry a grey card or a white slate, and use that to set the camera’s white balance underwater at varying depths (your camera’s manual will tell you how to do this). If you are shooting JPEGs, this is the best way to proceed – while you can adjust White Balance in post-processing, it is destructive and affects the image quality. However, if you are shooting RAW (and if you are reading this article, you should), you can set WB later – which frees you up to focus on your creativity in the water.
4. Use a strobe: I know, I know… you bought a small compact, and now I am telling you to spend hundreds on a strobe. Well, the sad fact is that really good strobes – the kind you will never outgrow – start at around $650. However, even a compact strobe will yield very good results. These will be the best investment you can make to improve your photos. It is hard to escape the laws of physics, even underwater – strobes are the only way to add back the red that has been absorbed underwater. On-board strobes work ok within limits (clear water and low working distances), but for most flexibility, you’ll want an external strobe.
5. Shoot up: Most people swim slightly angled head-up. The DIR crew swim perfectly horizontally (thereby missing everything in front and above them, which also explains why they dive only caves, as they miss everything on a reef). Either way, the cone of view for most people is weighted downwards. Therefore, most people also tend to tend to shoot downwards. This has one problem – your subject gets mixed up with the background and doesnt stand out. The solution is simple – get low, and shoot upwards or against blue water – and you’ll get a crisply defined subject (you did remember to get close, didn’t you?) against a pleasing blue (or green) background. Now we are talking! Keep in mind that getting low means that there is a risk of banging your fins into the reef, so please watch your buoyancy and your fins.
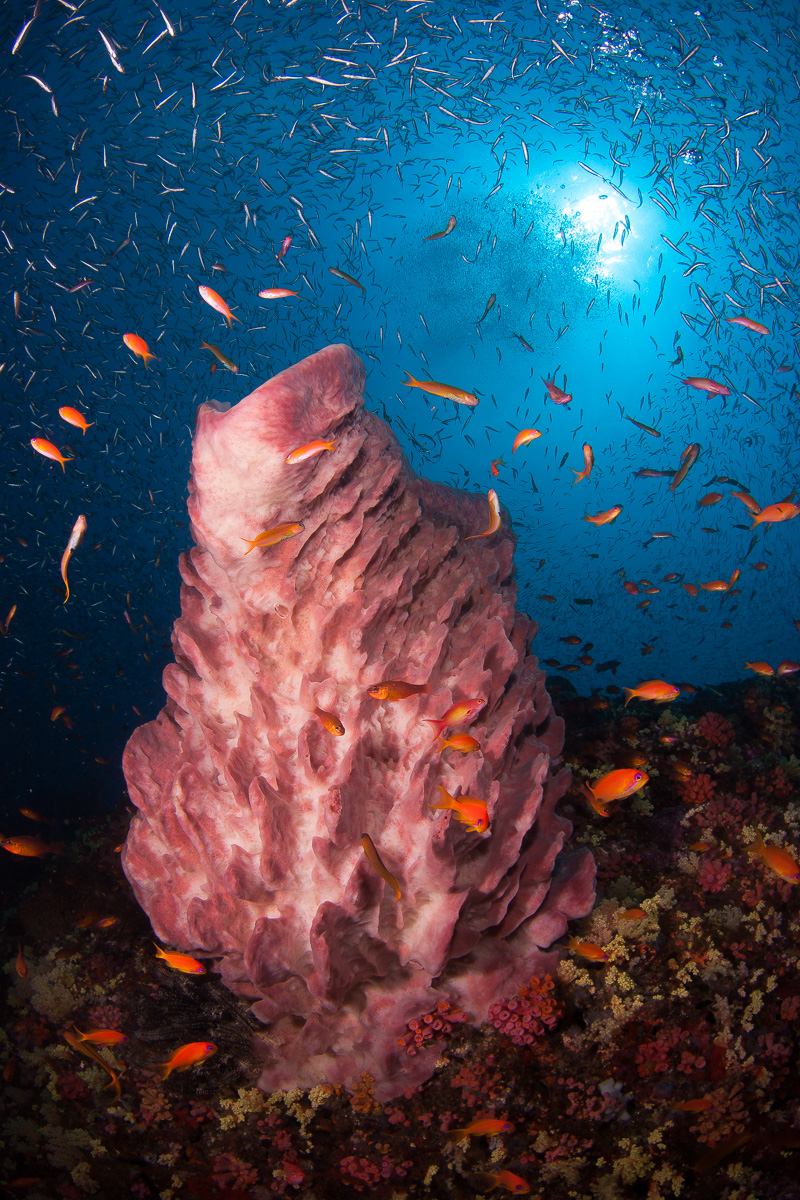 Shooting upwards provides a clean backdrop for your subject
6. Spend time on a shot: If you find something interesting, spend time on it. Now, at this stage, you are probably not ready to spend the entire dive on one subject, but you can – hopefully – allocate atleast a few minutes without making your buddy homicidal. This will allow you to explore various shooting angles and compositions. I personally don’t have the divine gift of artistic genius and so have to work for my shots – my first shot is rarely my best. If you are anything like me, the more time you spend, the better results you will get.
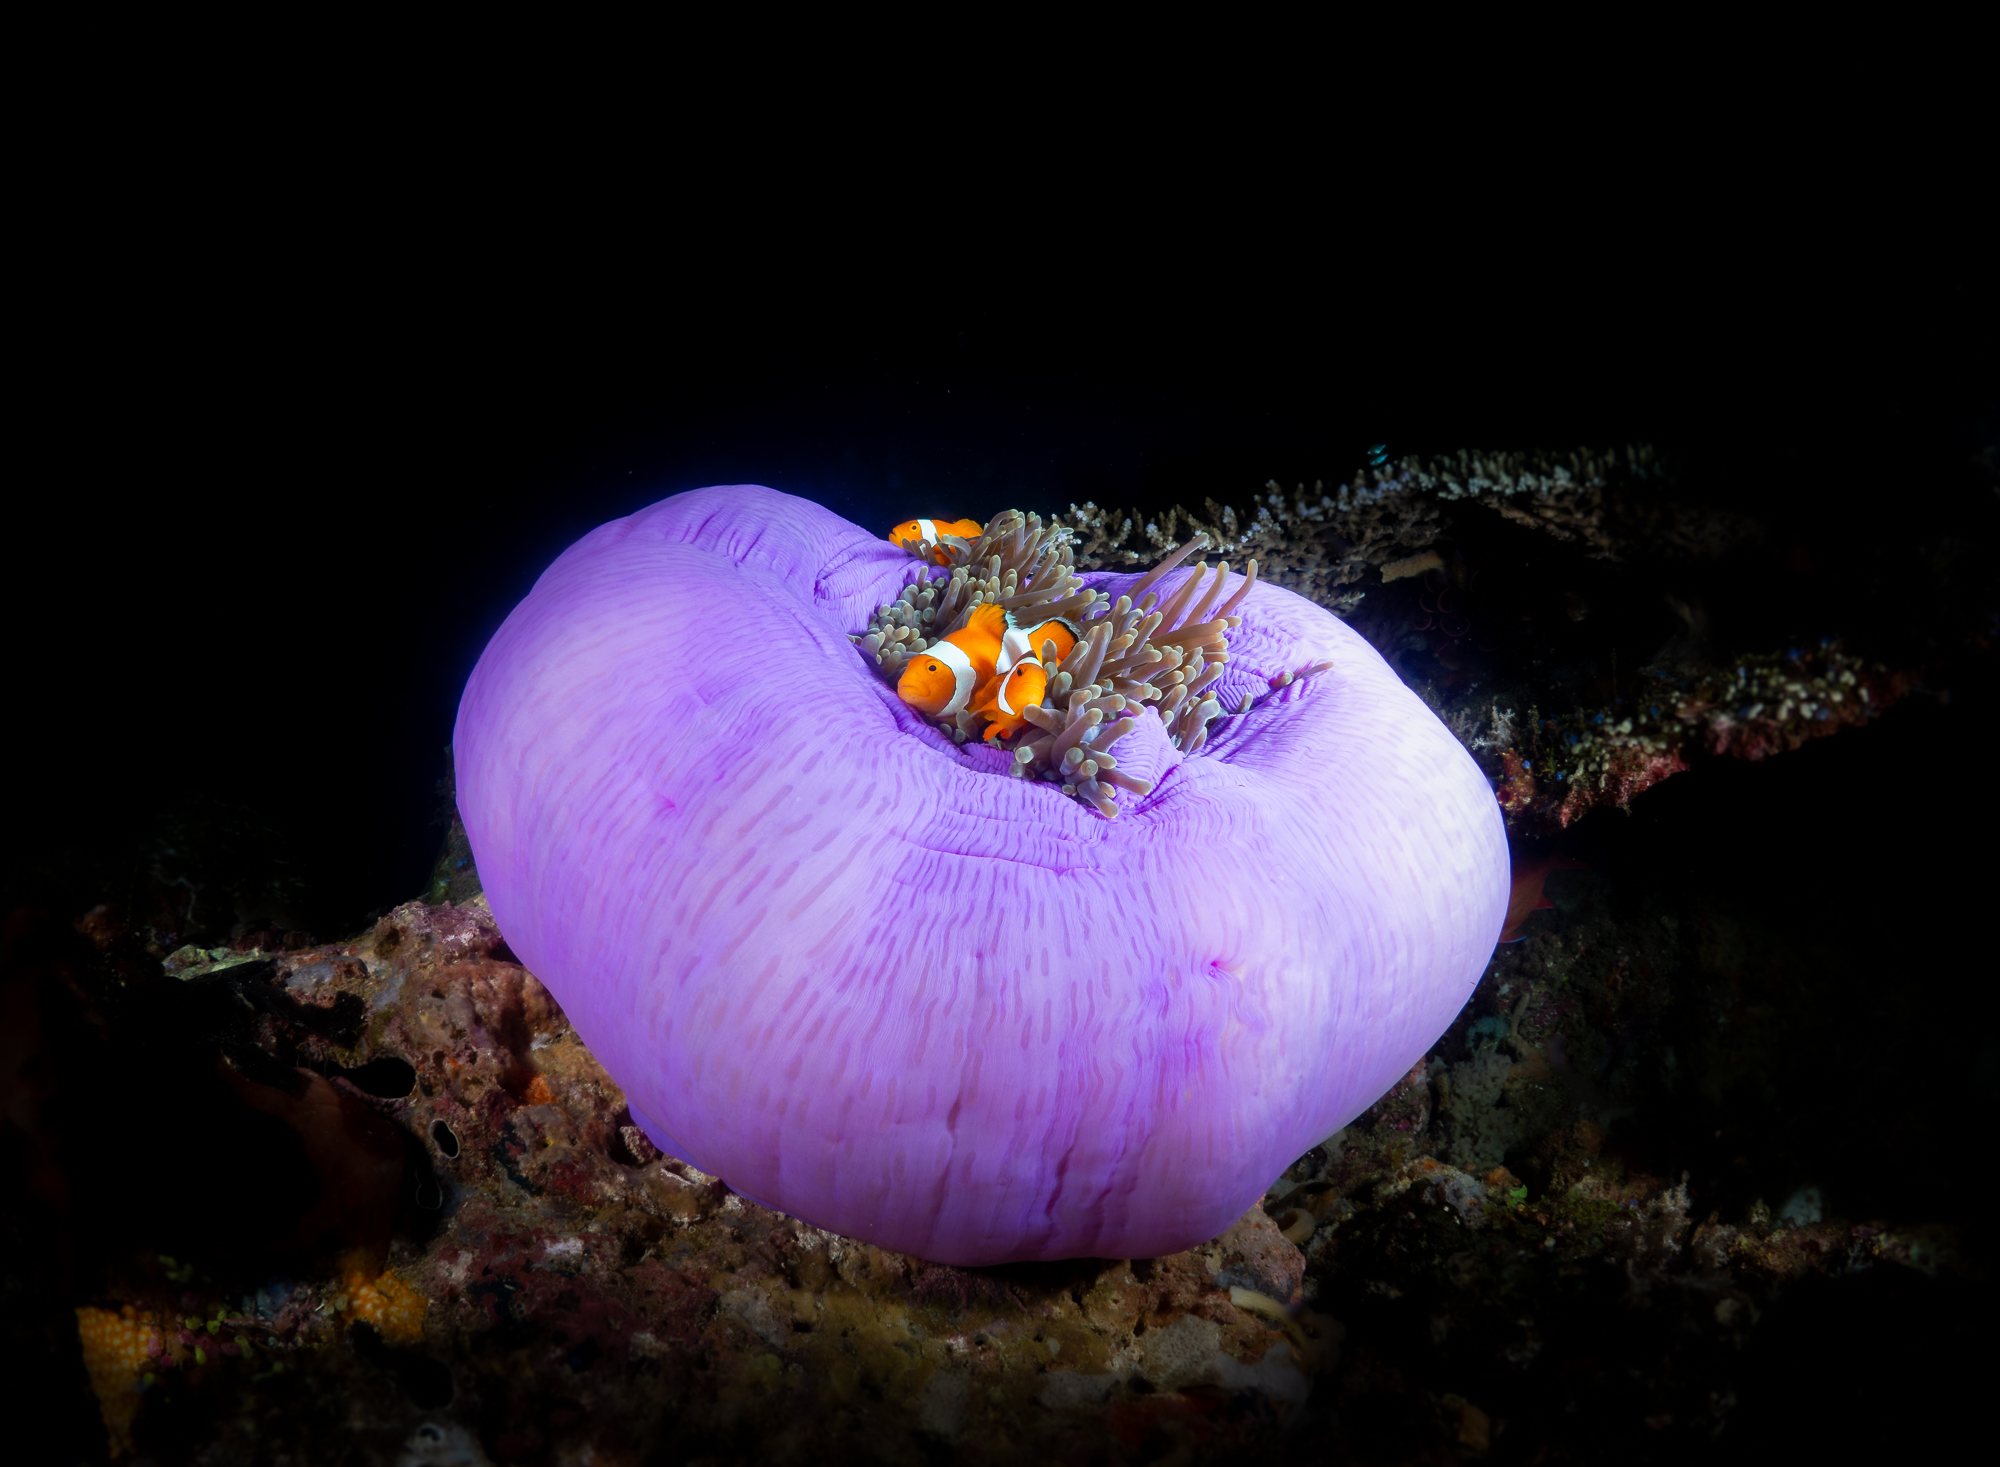 It took several minutes of waiting to get this shot of the closed anemone with the clownfish
7. Start with quick wins: Quick wins are subjects that don’t move much – anemones, clownfish (ok, they move, but within a small area), colorful coral, nudibranches, etc. These will let you apply all the techniques we have covered so far re lighting, angle and getting close.
8. Stalk fish: Swim towards a fish, and it takes off. Bet it has happened to you. So how does one get close to the subject? I use the same approach to getting close to fish as I do with birds and wildlife.. I move slowly, I exhale slowly and I try to close in at an angle (instead of directly towards the fish). I also bring my camera gear into position before hand and avoid ALL sudden movements. This improves your chances of getting close and taking shots where the fish are still facing you.
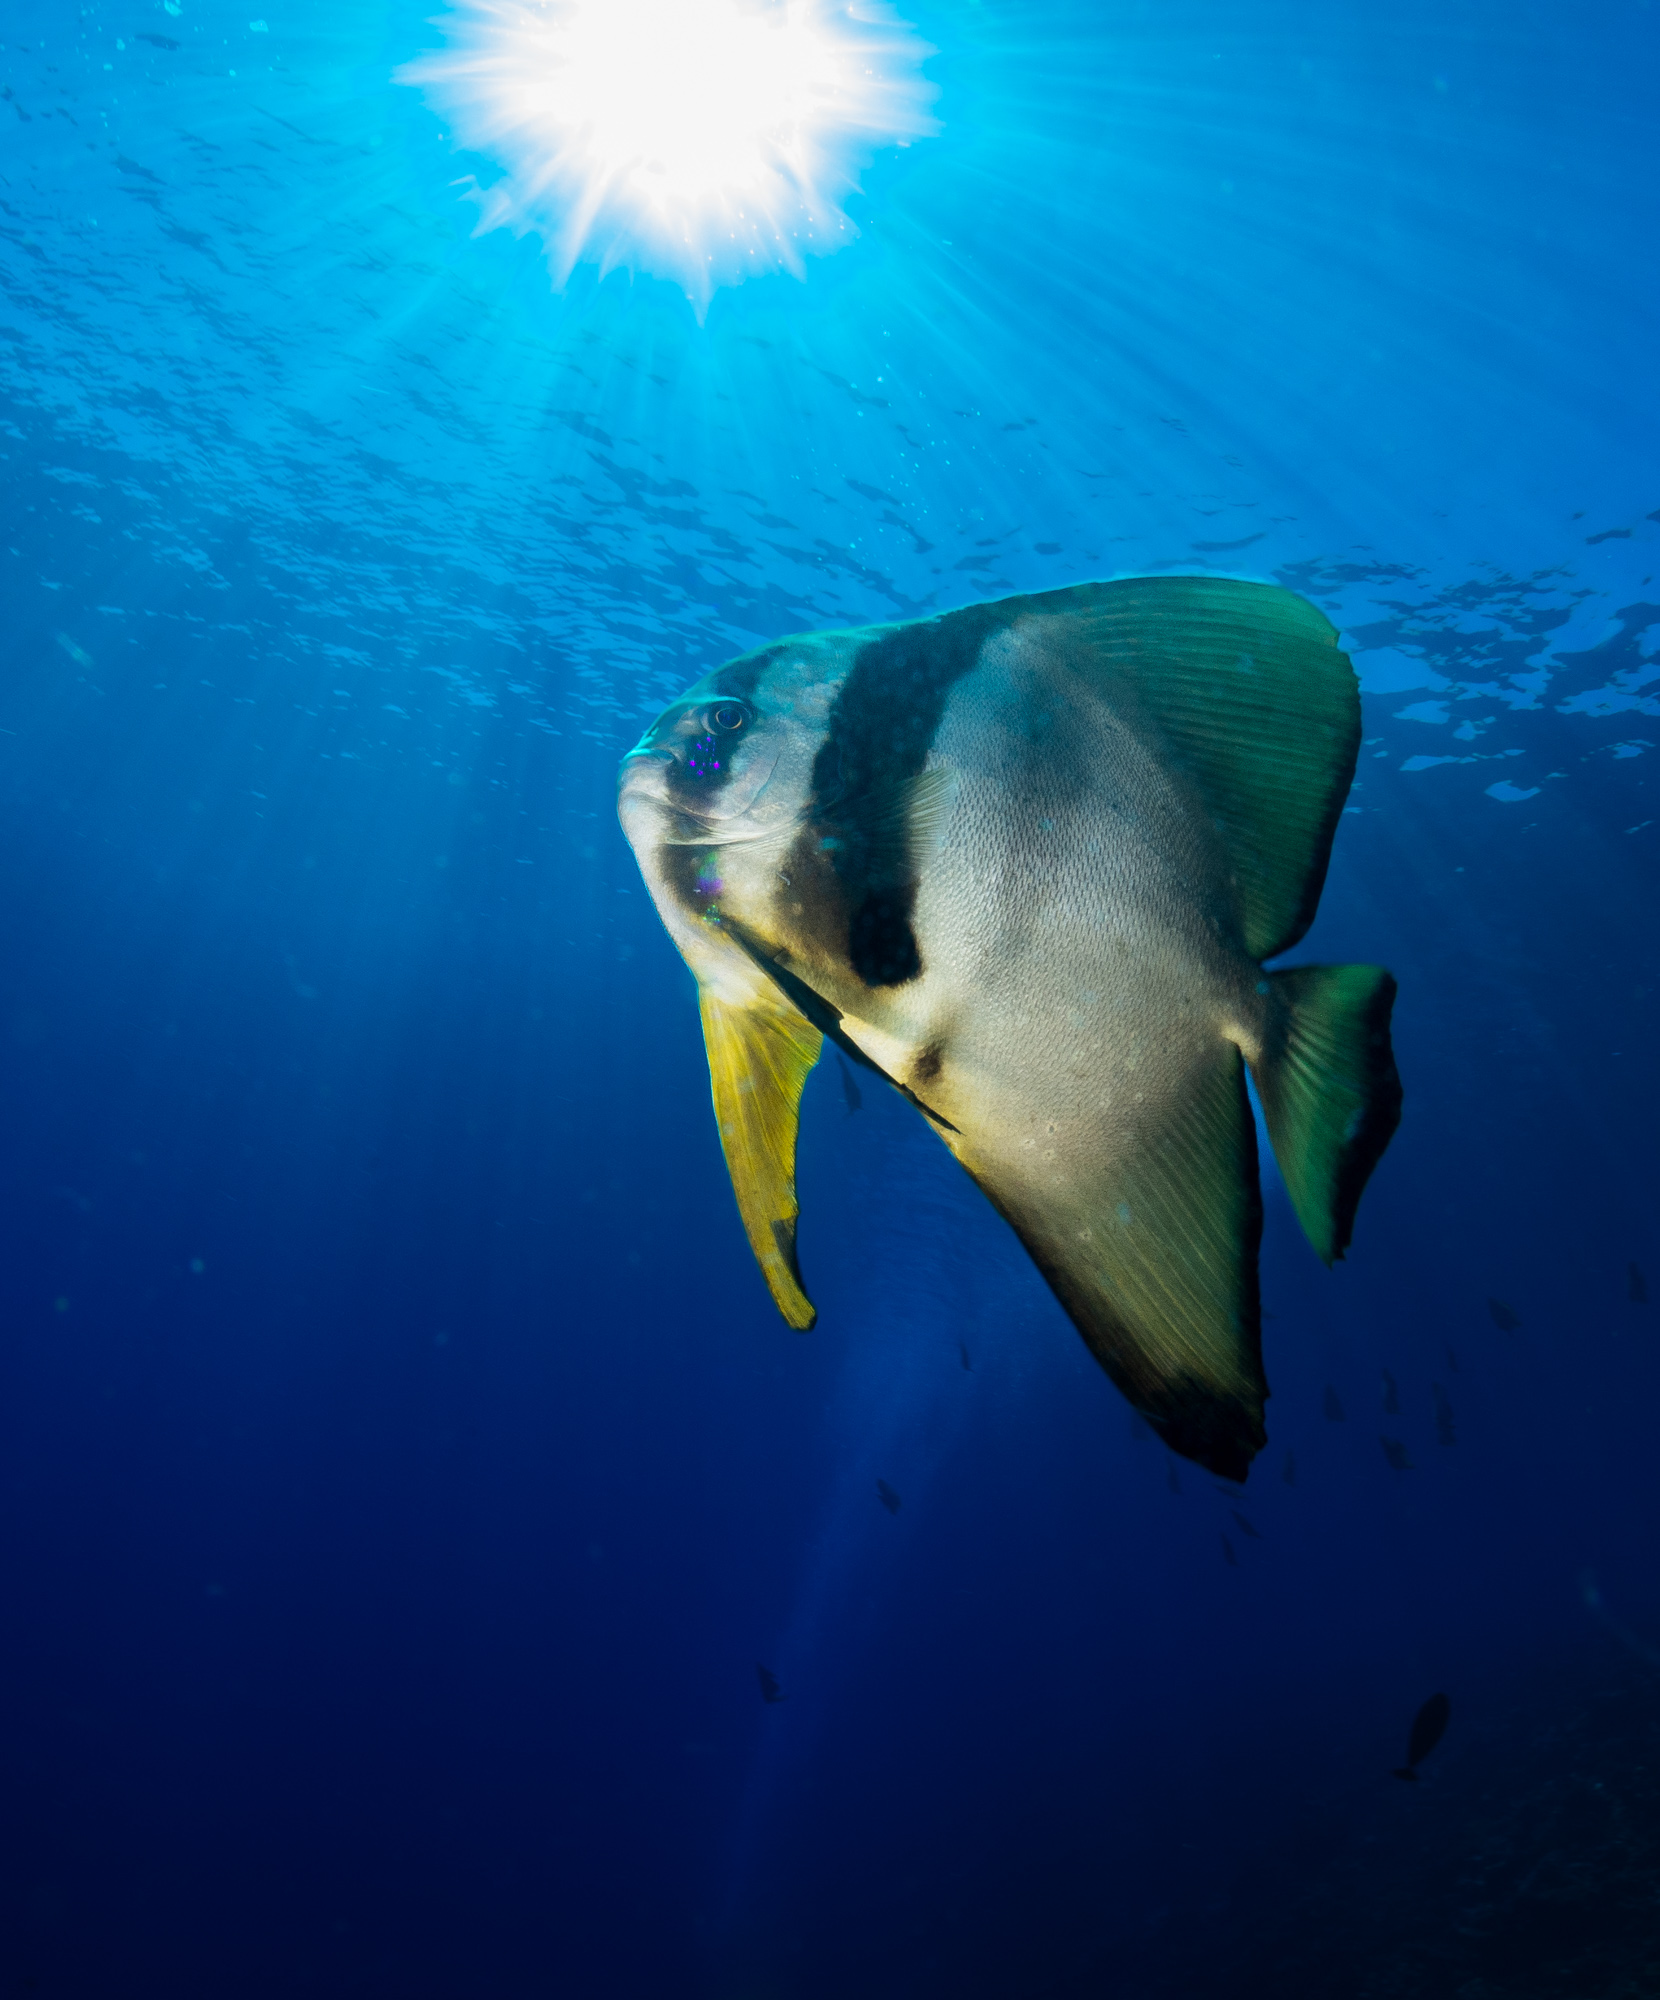 Patiently waiting without movement let the batfish swim towards me, letting me get this shot
9. Improve your buoyancy: Sometimes, the best camera angles require you to put your body in all sorts of awkward positions. In order to achieve this, your buoyancy must be top-notch. It takes time to get here, so keep practising… before long, you’ll be hanging upside down, peeking into an overhang and shooting away to glory. Do remember that your learning curve should not come at the expense of coral – if you are going to practise, do so somewhere where you are not going to break or damage the reef. No photograph is worth damaging the reef.
10. Practise: Sounds like a cliche, but it isn’t. First of all, let me tell you what not to do. Don’t just go on a shooting spree, hoping to find some gems in the shots later. You can spend a 100 dives this way without getting better. What you need to do is spend some time before each dive setting targets for yourself (perhaps take one of the points from this article and work on it), then go shoot according to that plan. Then review your results, figure out your mistakes and then next time, work on avoiding those mistakes. Before long, you will see your photographs improve drastically. Don’t be afraid to experiment or shoot a lot – however, engage your brain before thinking. Don’t just blindly fire away.
And now, because we are great value and big fans of Spinal Tap, we’ll give you 11 tips in a list of 10 Tips to Improve Your Underwater Photos.
11. Shoot RAW and post-process: Yes, camera processing has gotten a lot better, especially on land. But underwater, it has some ways to go. So it is best to process the images later before sharing – and RAW images are much more suited for this. You can adjust the white balance without affecting image quality. You have more tonal range to work with (RAW images are 10/12 bit files, as opposed to 8 bits for JPEG). And you can decide for yourself how much contrast/saturation/etc you want to do, as opposed to relying on the camera default. Post-processing doesn’t have to take long – on average, it takes me a couple of minutes an image. Nor will it make a bad image look good. But it will bring out the best of a good image. And that’s an effort worth making.
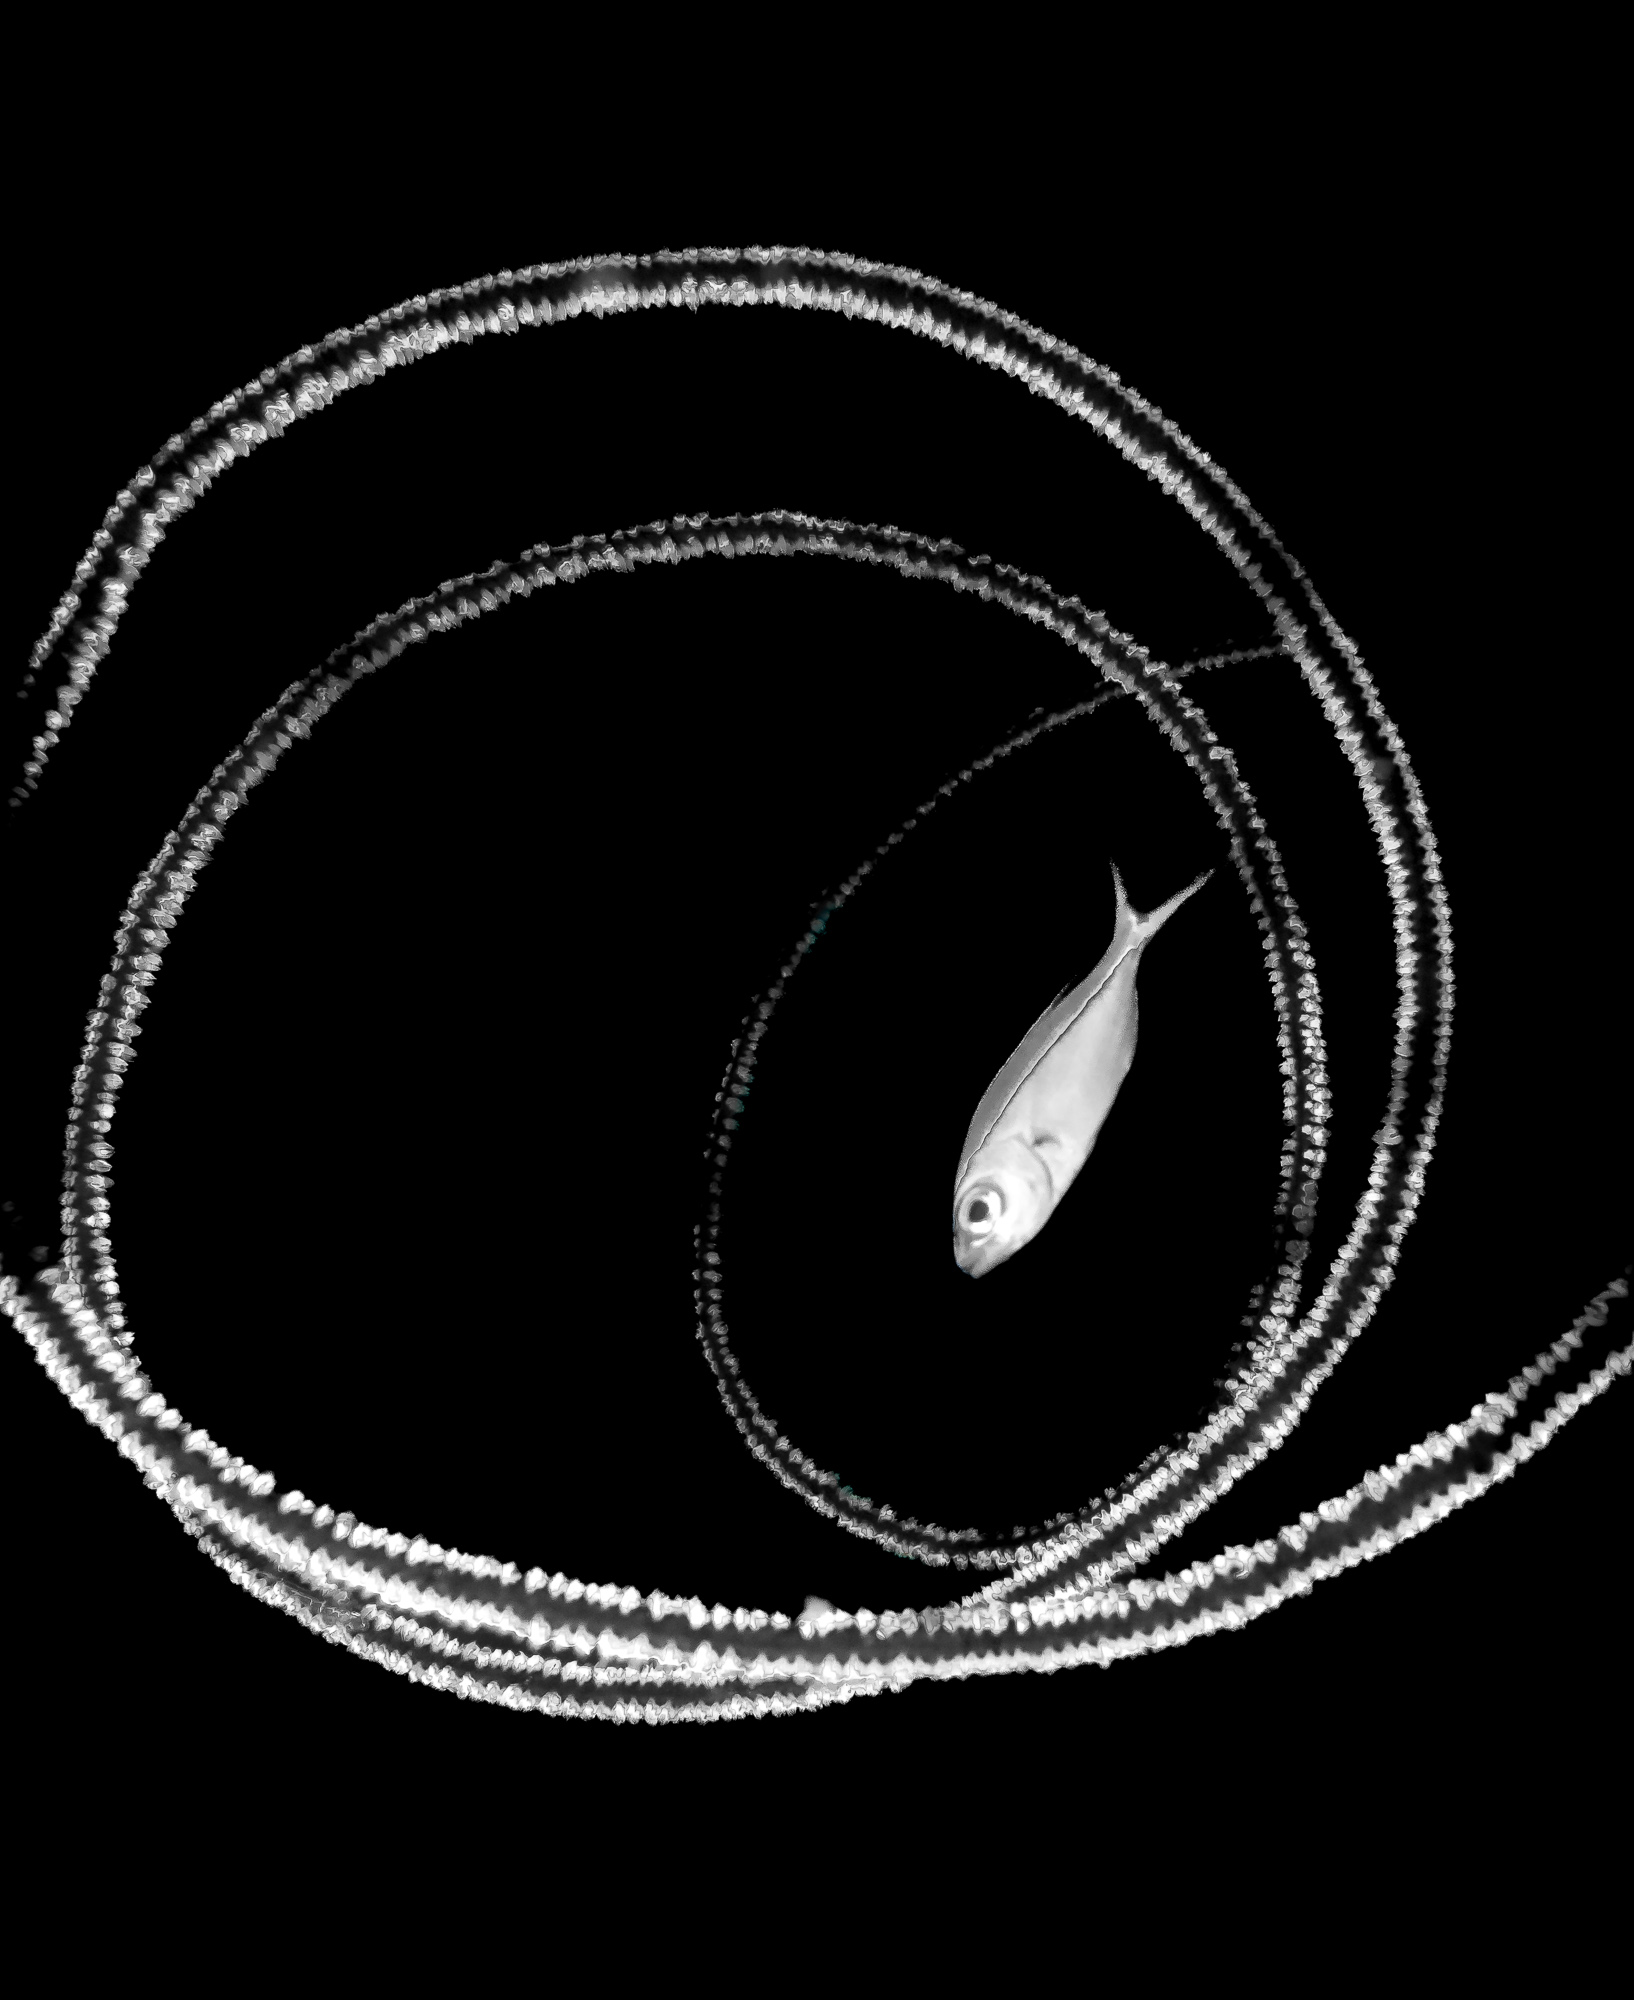 I had visualised this shot and spent 15 minutes hovering on my back waiting for the right moment – but I also needed to post-process to convert my vision into the final image